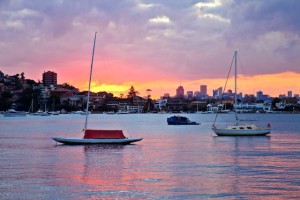
I did a great tutorial by Seth Resnick – one of the 30 most influential photographers of the decade by Photo District News Magazine recently. It was on getting HDR results without going through the traditional HDR process. The full tutorial is available on the onOne Software site under archived webinars.
Here is a summary of Seth Resnick’s tutorial –
Take the one exposure at the halfway point, about the neutral point.
Drag the raw file to the photoshop icon and then adjust the exposure so you have good details in the shadows and then open image.
Open the same image again by dragging it to the photoshop icon and this time process it for the highlights and select auto. Reduce exposure or increase if required.
You will now have two versions of the file.
Take the move tool and shift drag the dark file onto the light file. Create a layer mask on layer 1.
Select the background layer and select all and copy.
Go to layer mask and option click on the mask and edit & paste. The image should go to black & white.
To prevent a halo effect on the dark & light edges go to the gaussian blur filter and select a radius of about 1. Then go to layer and flatten image.
 |
| Rose Bay, Sydney Harbour at Sunset |