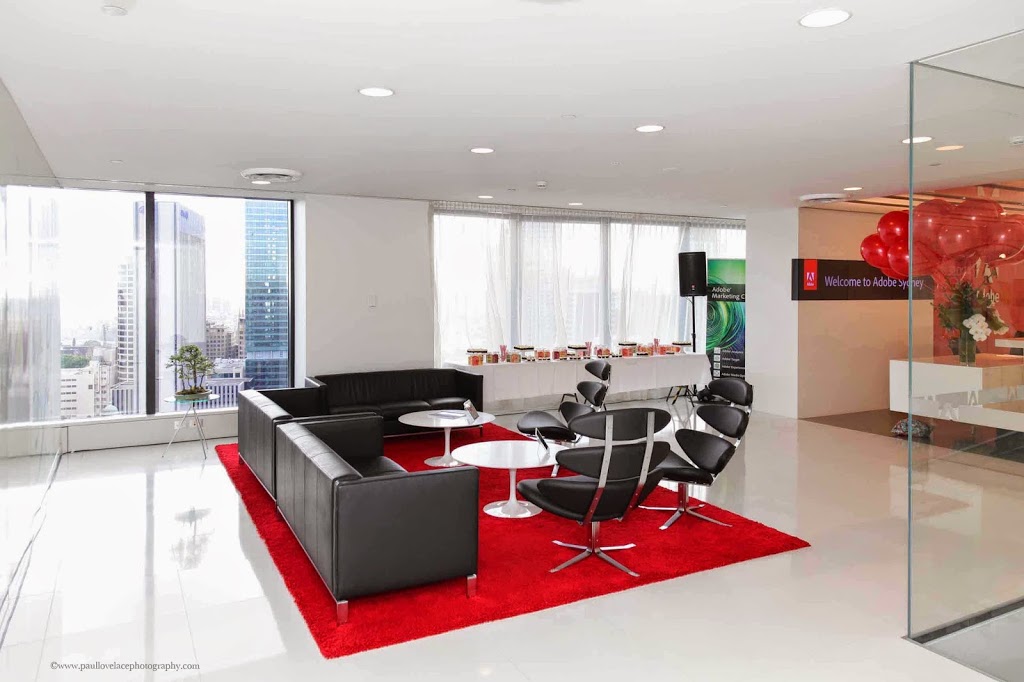
I have been photographing a lot more corporate interiors for clients that also require corporate profile portraits for social media and other purposes. It just so happens that one of those corporate interiors happened to be the opening of Adobe’s new office in Sydney and ironically around the time I had switched from Aperture to Lightroom. Unless you happen to have a tilt shift lens you will run up against limits with your ordinary lens due to the laws of physics resulting in lens distortion. The upright corrections tool in the develop module of Lightroom 5 has made shooting corporate interiors so much easier. If you select the basic tab in lens corrections and select enable profile corrections it will correct some basic image distortion. I also select remove chromatic aberration which reduces purple fringing although other colours can be present. Also select constrain crop, then I normally select the auto button which will correct and decide what aspect ratio, perspective correction and tilt the image will need. There are two main factors to remember when using auto lens correction from my experience. Firstly you have to allow for extra space either side of the image as this will be cropped out when the interior shot is being corrected. Secondly the auto lens correction tool will sometimes either over correct the image or under correct the image so this is where the manual tab comes in allowing you to further correct distortion, make the image more vertical and adjust the scale and aspect ratio.